
We are realizing that when we started this gardening project we had high hopes of large yields of many vegetables and also many fruits from the orchard. Since last year was such a good one in both areas we thought we could plant even more varieties and types of plants and thus get much more to store away for winter. Well, it is not panning out very well because many plants are not producing very much- probably enough to enjoy for a couple of dinners or so, but not enough to can & freeze.

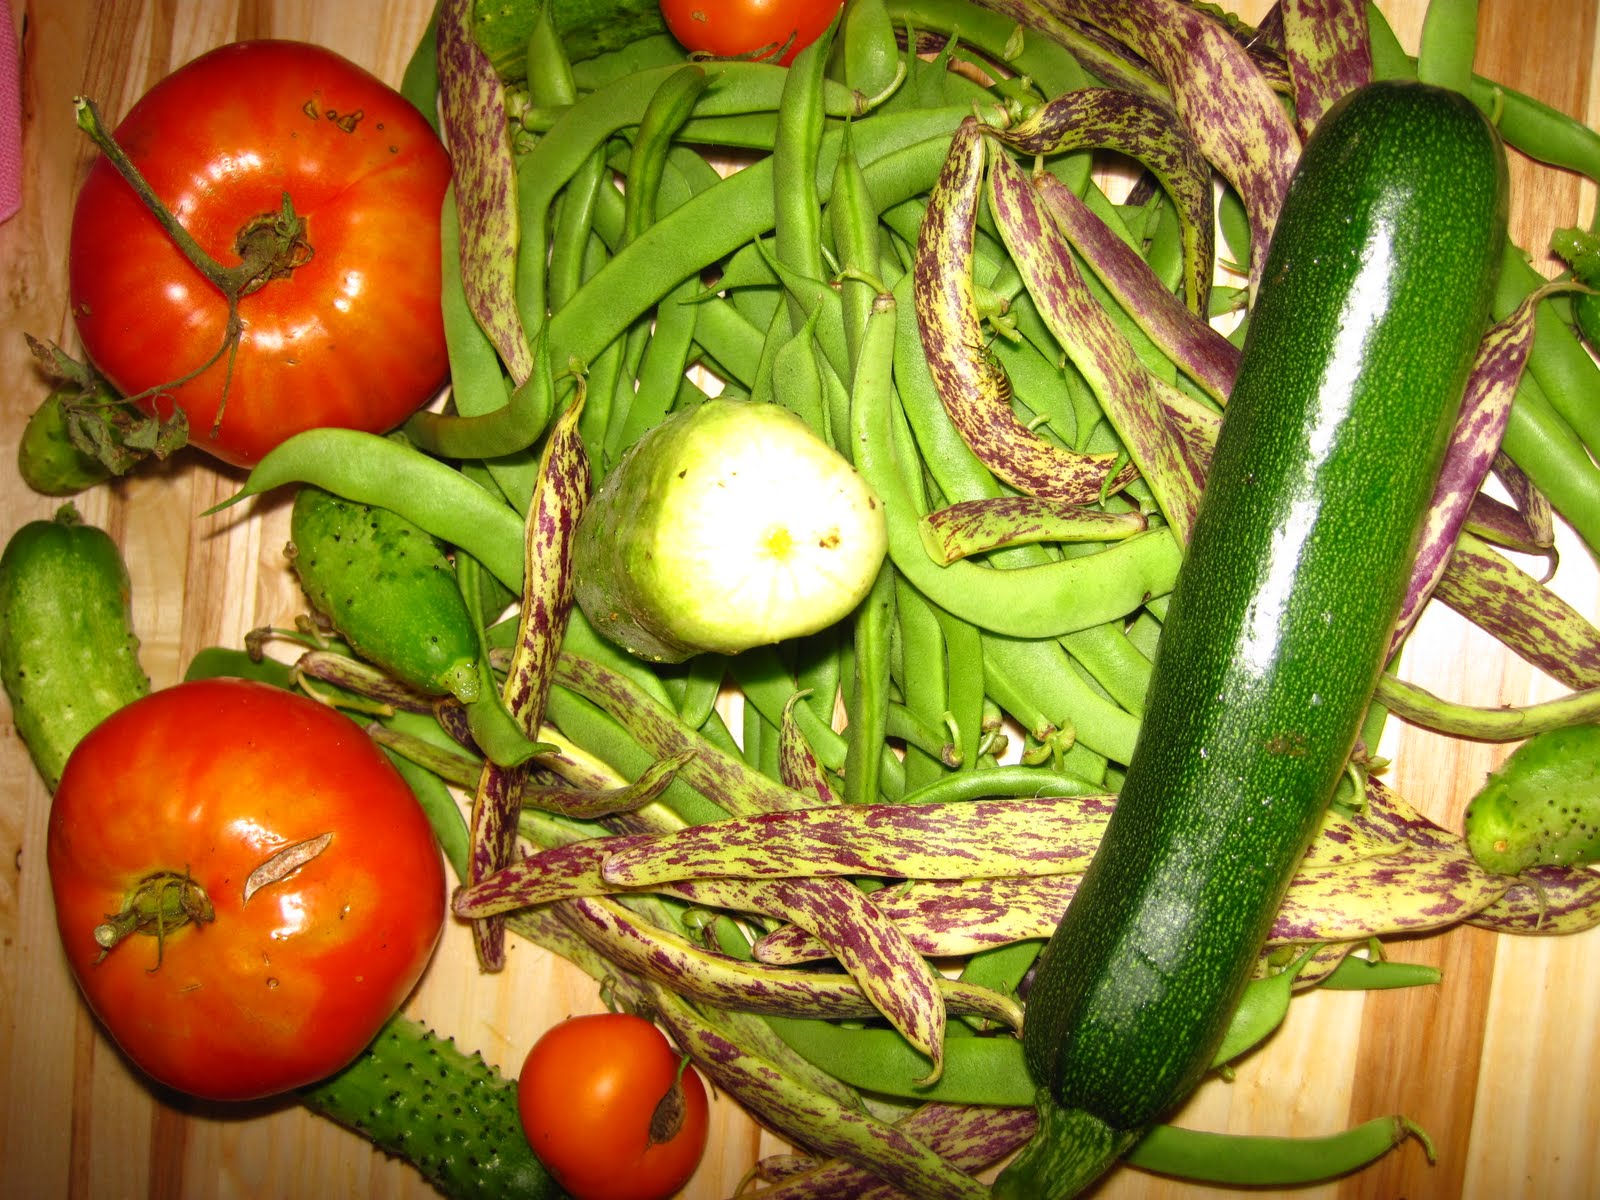
We still hold out hope for our very large tomato patch which is mostly green (as you can see in but the tomatoes are starting to get an orange tinge to them. Normally this time of year we'd be gearing up for canning season and we would be starting to harvest many tomatoes and other crops, but aside from my Mom making a few pickles from our cucumbers we haven't even gotten started because there really isn't much to harvest.

On Wednesday of this week- September1st, 2010 Adam and I headed out to my parent's house to take a look at the garden. We saw our "prized" and only little melon which we will surely enjoy when it is time to pick it!

We also took a look at our squash and although they are small there are quite a few forming on the vines- so we'll enjoy a few of those later on.
Next week we're going to pick more blackberries now that they are really in season and there are many ripe ones to be had. I already have a bag full in the freezer ready for something tasty this fall. So, I'm hoping to harvest a lot to freeze and maybe make some into syrup.

In spite of a very small harvest on most of our crops this year there was a very welcome surprise today! We discovered that there were many hazelnuts on the ground near the hazelnut trees. Since there is finally a pollinator tree nearby we were able to harvest nearly a whole large bucket of nuts! We will dry them out and shell them soon! Very exciting to see!! You can see in the picture above that the nuts still have a husk on them, it is fun to see them in their "raw form."

The dry bean harvest will be moderate, but they appear to be producing well. It is the first time we have tried to grow dry beans and it will be fun to try the many different kinds. The pole snap beans are loaded with blossoms, but because the crows ate so many of the bean seeds last spring, we won't get the huge crops we hoped for. On the other hand, they at least didn't take all of them! Some of the blossoms are now small beans, so we should be able to have some next week. Keep your fingers crossed!

The only beans we have harvested so far are the purple-striped wax beans. I've only been steaming and freezing them, as my purpose in growing them is to use them in three bean salad. As I mentioned, the green snap beans are just about ready, so now we are hoping for the limas, or at least the scarlet runners for our third bean.
As Trista said, I have been making pickles recently. Since the harvests are small, I just adjust the recipe to fit the quantity I have, and keep on going. I like to make 14-day sweet pickles, and I have been making dill pickles from the same recipe for many years now. I have tried other recipes for each, but I keep coming back to my old standbys. The 14-day sweet pickle recipe is from an old Kerr canning jar booklet and is similar to other recipes using a long cure. The dill recipe is one I cut from the Oregonian many years ago,Mrs. Neusihin's. She made and sold pickles in the Portland area for many years. Her establishment was close to my school, and she delighted in handing out pickles to passing students. It was a tiny business, to be sure, but she was famous in the area for her dills. You can easily find similar Kosher Dill recipes in canning books, but I use hers, as it brings back happy memories of the delighted kindness of an old lady to those of us who greeted her and enjoyed her pickles. Below you can see Adam sure enjoys these pickles too....

Here is the recipe for those yummy pickles:
Mrs. Neusihin's Pickles:Makes: 8 of pickles jars
8 cucumbers, per jar approximately
2 cloves garlic, per jar
1 hot red pepper, per jar
1/4 teaspoon dry mustard, per jar
1/2 teaspoon pickling spice, per jar
2 teaspoons prepared horseradish, per jar
2 teaspoons dill, per jar
1 cup salt, noniodized
24 cups water
8 grape leaves
Fill jars with cucumbers, make sure to prick the blossom end with a toothpick first. Put everything but the salt and water in the jars in quantity shown per jar. Boil the water and salt to make a brine. Make sure the salt is dissolved, then pour boiling hot over cucumbers and spices. Put a grape leaf in each jar and then put on lid, but do not seal tightly for 5 days. During each day, shake jar occasionally. Ready to eat in 4 to 6 weeks.
Enjoy!
Onto other gardening news....Difficulties arising from the weather continue. Today the temperature is in the high 80s, but earlier in the week it was in the low 60s. I liken the weather ups and downs to an erratic driver on the road, making it difficult for fellow travelers to decide what to do to keep safe. I know the tomatoes and other plants like more warmth, and that cooling down the earth and cutting down the sunshine just aren't compatible with the growing season.

We have decided through this difficult weather that we have to look about us for other possibilities to harvest, and as Trista mentioned, the blackberries are looking good to us. We also made some cider from some tiny Lady Apples, on a tree of our neighbor. The deer got to the tree first, so we shared with them and had just enough to make spiced cider at Christmas. The Lady Apple is sweet, and slightly pink inside, so the cider is a rosy color, and a cinnamon stick or two is probably all that will be needed. I think our appreciation of this treat will be all the sweeter as we look back on our harvest year.
Tiny Suburban Garden Report:
The mystery squash continues to grow quite nicely and is now forming some type of squash and has many blossoms! It is great to see such a great volunteer plant. The few volunteer tomato plants are also doing well and forming little tomatoes! So exciting! We might have a few things here after all. Our four large pumpkins are also doing well on the vines, they'll be ready for Halloween!

Stay tuned for more harvest news...

Just as I was adding the photos to this post my Mom who was visiting us and helping take care of Adam as my Dad finished up our roof project said "Quick, get your camera!" Adam had found a large bunch of huckleberries on the two little bushes we have in our backyard!! What a lovely discovery! I didn't know that there were many berries on them at all! You never know...and they were delicious! Adam had fun picking one and then putting it in his little container, then eating it right away!!

 Last week Adam and I went out to play in the backyard. Adam loves to pick little apples from our dwarf apple tree up off the ground and inspect them. After washing them off he might even take a bite or two! As we were out there I decided to pick the rest of the apples off of the tree-- there were only 5-6 small ones. With these in hand plus a few Gravensteins I'd picked up at the farmer's market I had the makings for a lovely apple crisp.
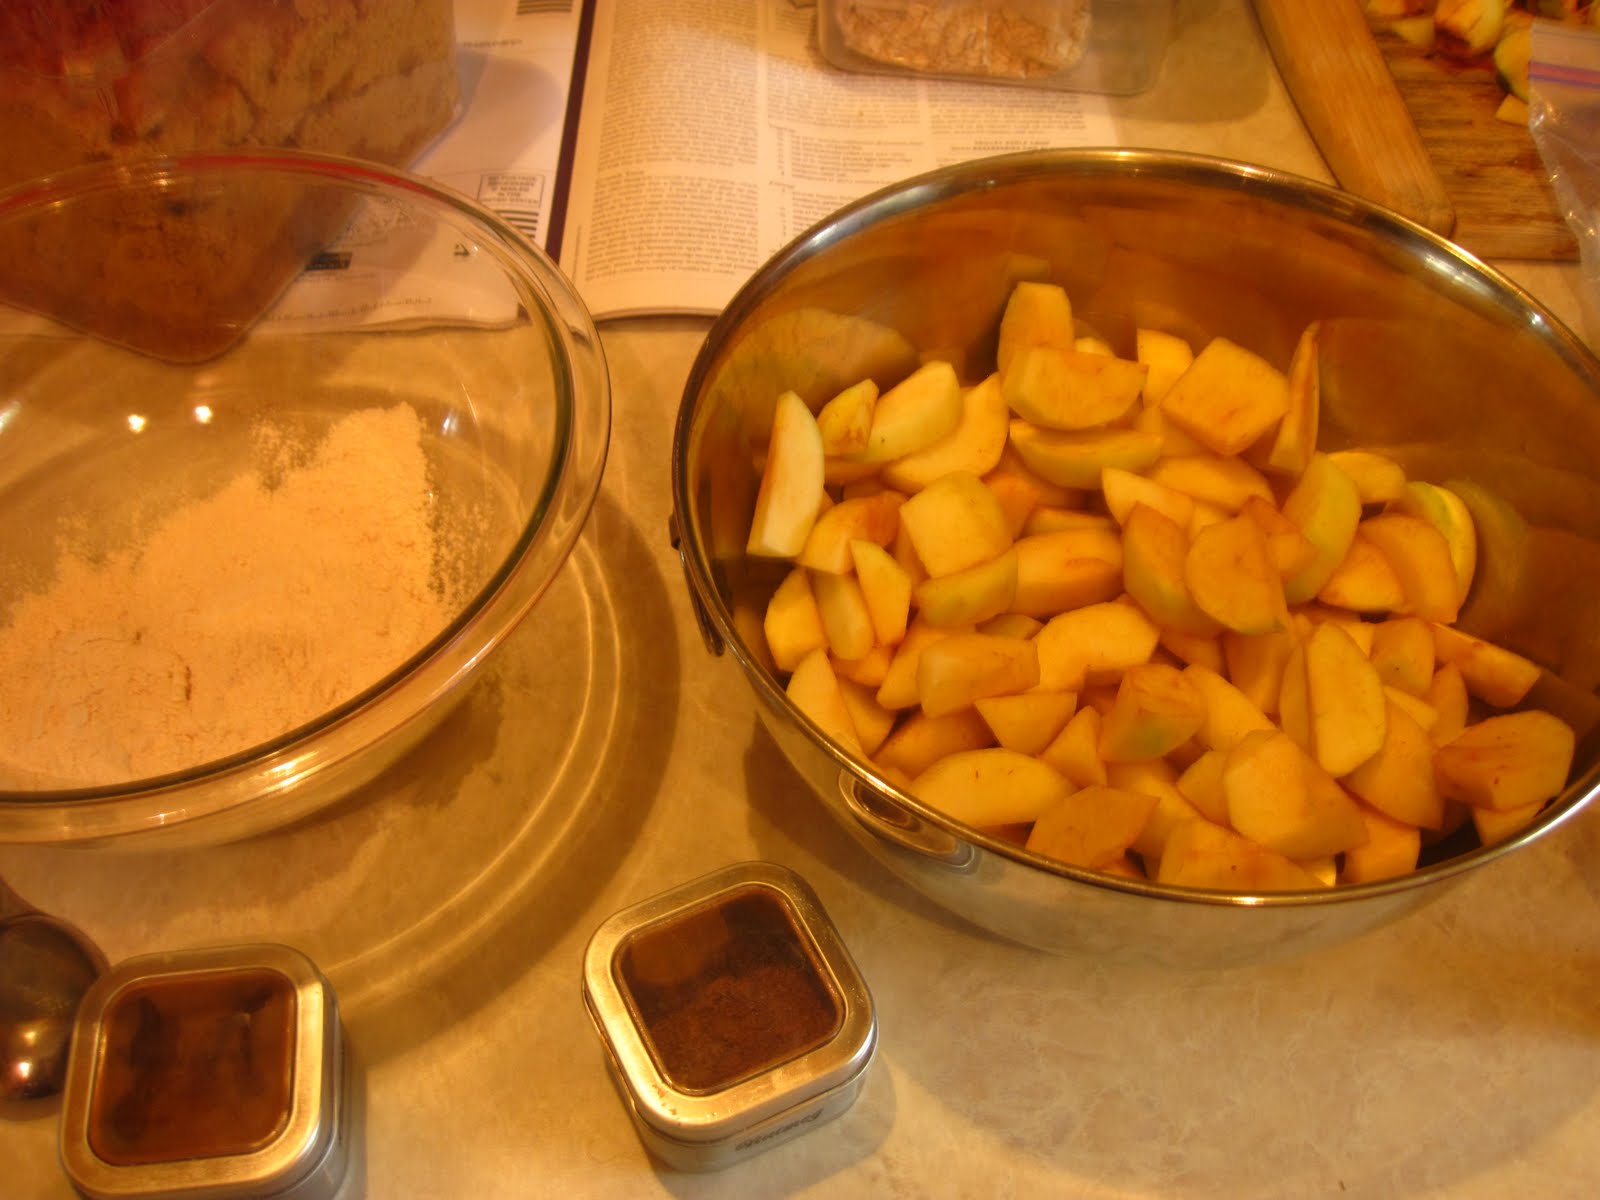


